Please join us in celebrating the release of Playful Fabric Printing through a blog hop! Scroll down for a complete list of blog hop participants. Each hop participant will discuss motif making, quilting with handprints and/or review Playful Fabric Printing itself. Each blog hop participant will be giving a copy of Playful Fabric Printing to a commenter, so please comment for a chance to WIN.
Carol and I have also begun a Playful Fabric Printing Facebook Community page and would love for you to join. This will be a space for you to share images of work inspired by the pages or our book, ask questions, receive feedback and participate in print-alongs.
There are many ways to go about making multicolor cloth and there are no right or wrong ways to go about it. While we discuss the creation of nestled multicolor printing sets that fit one inside the other, this is not always the way you might want to proceed. Instead, you might choose to create free-form motifs and to print them in a tossed pattern.

As you can see, working in this manner leaves a bunch of white fabric. Never fear, on page 86 of Playful Fabric Printing, we discuss Monoprinting with Masks.

In this case, I chose to use freezer paper, whose shiny side makes a temporary bond to cloth with ironing. I traced the motifs I wanted to reserve, cut and ironed the cutouts in place before preparing to monoprint.
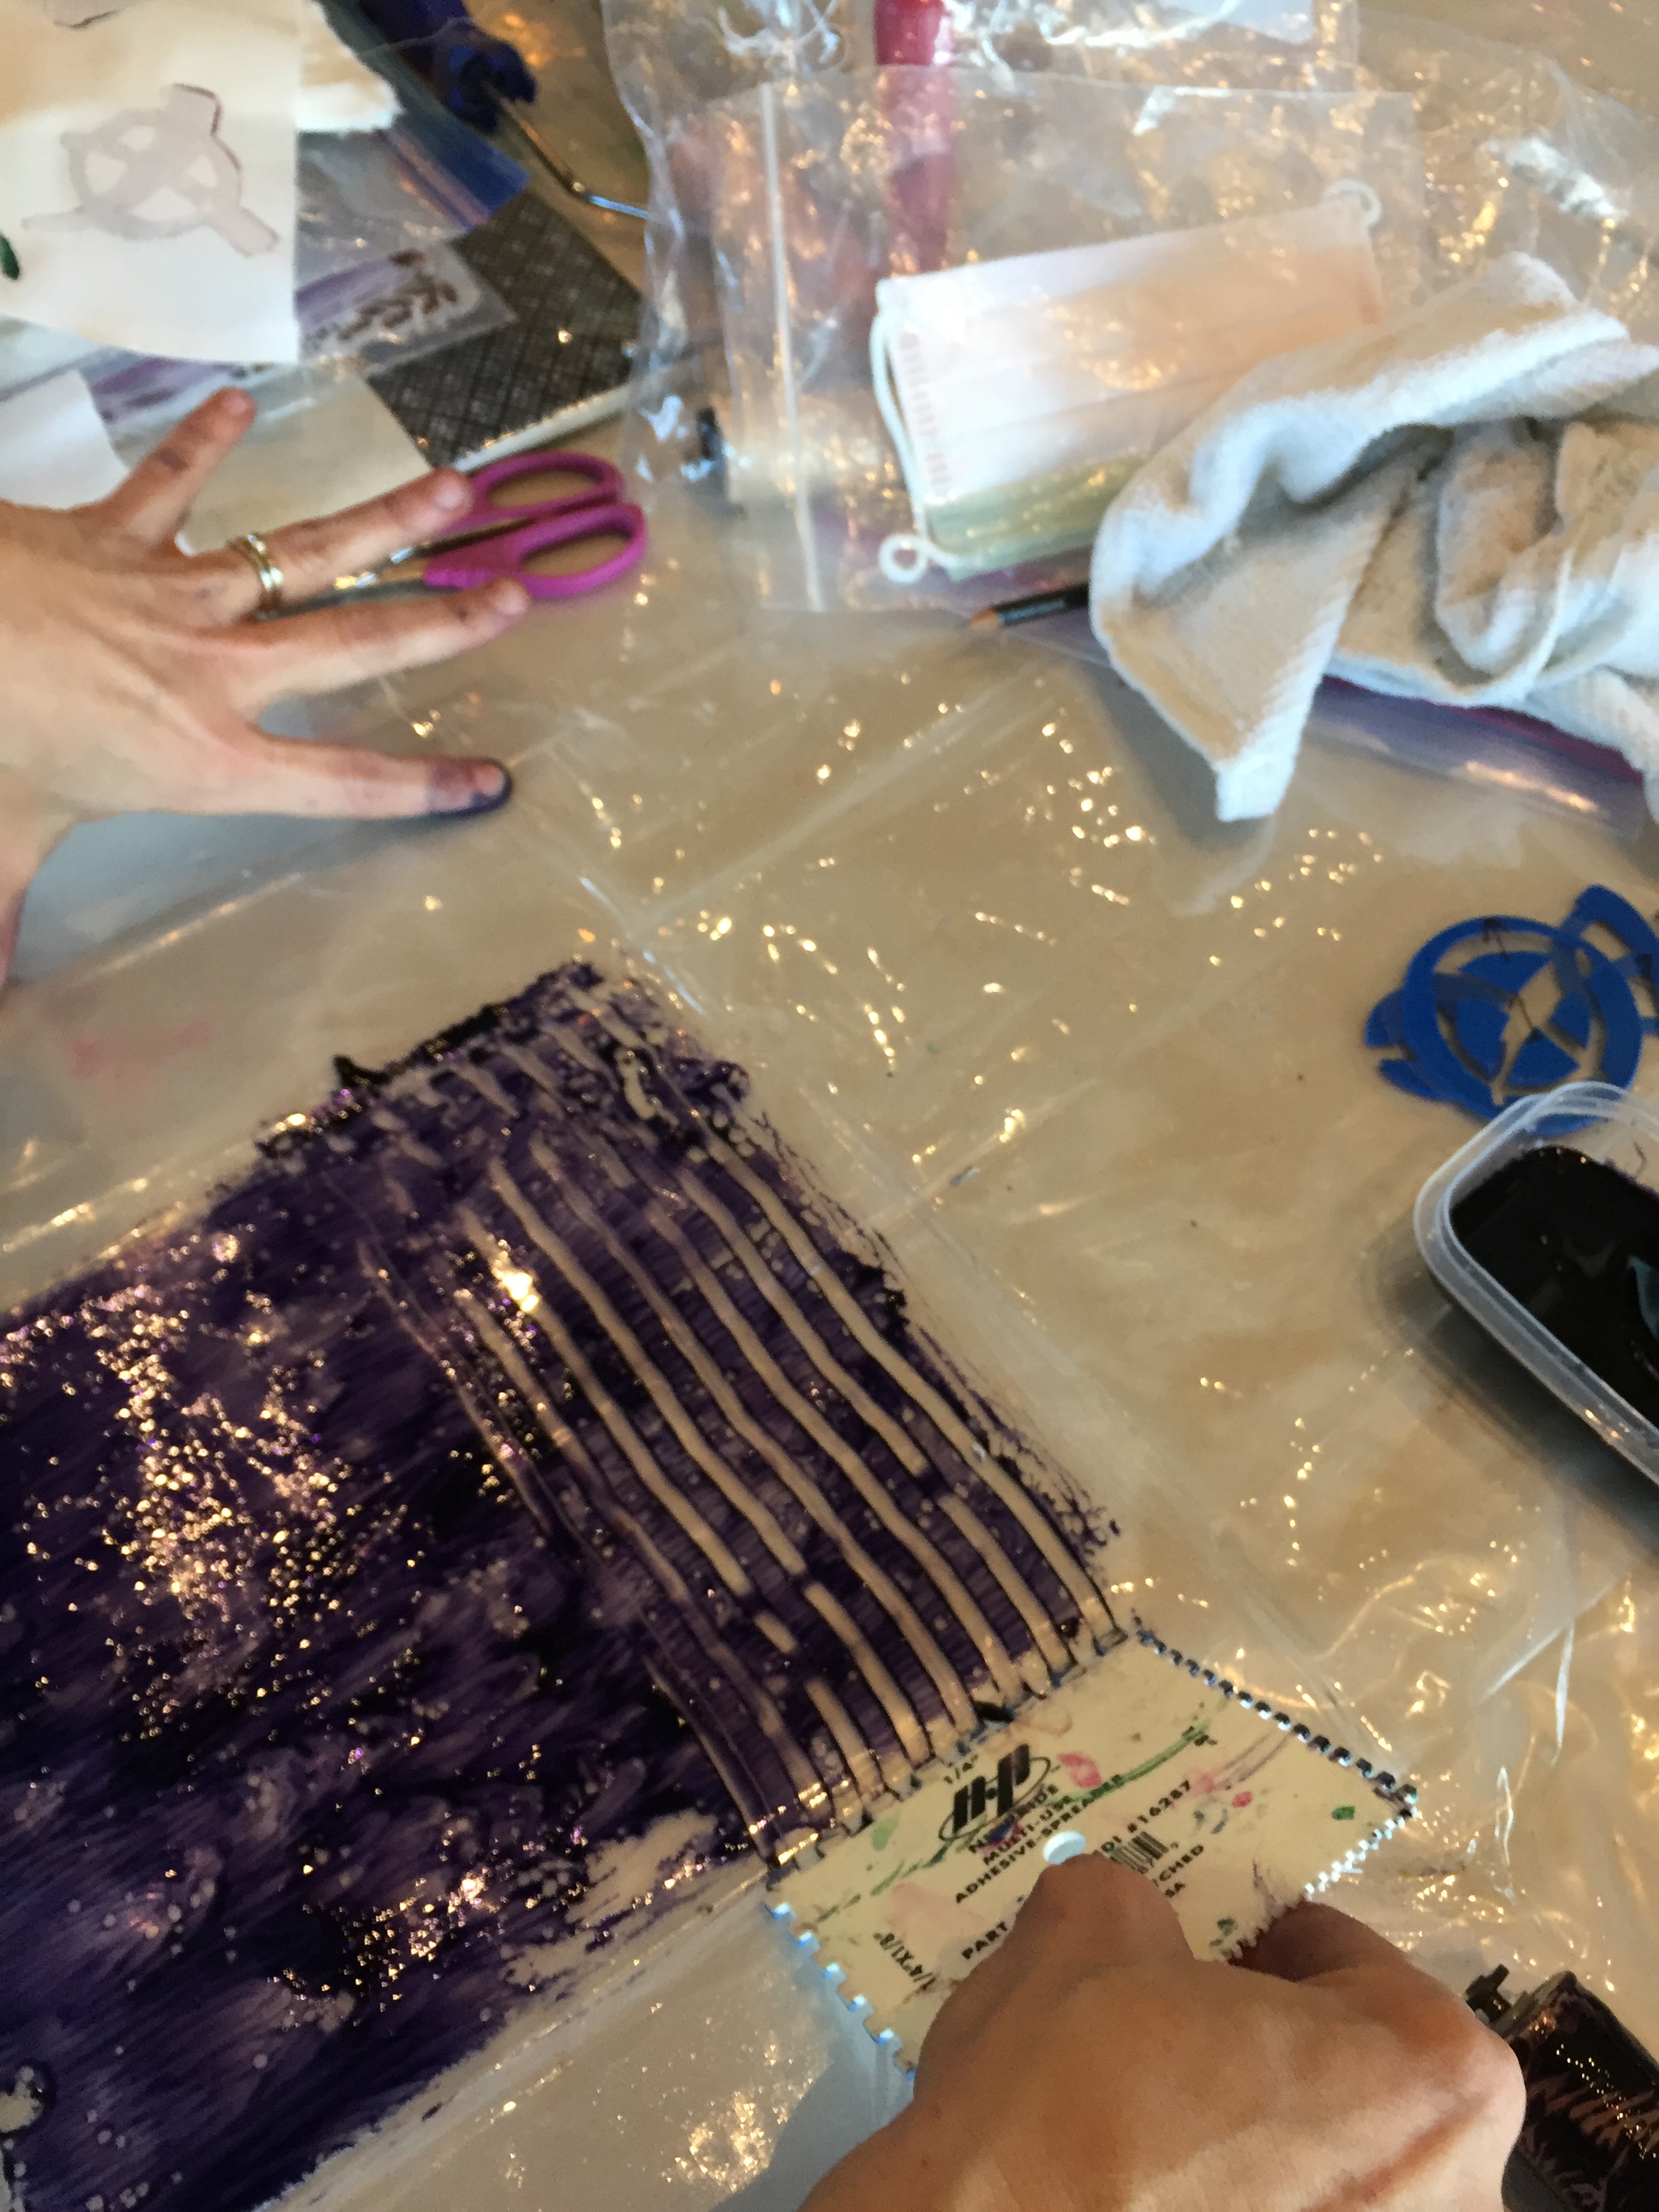
After rolling thickened dye out in a pleasing manner, a texturizing comb was used to create a grid like pattern in the thick dye.

The cloth was laid atop the texturized surface and pat in place, before lifting the cloth off the print surface.
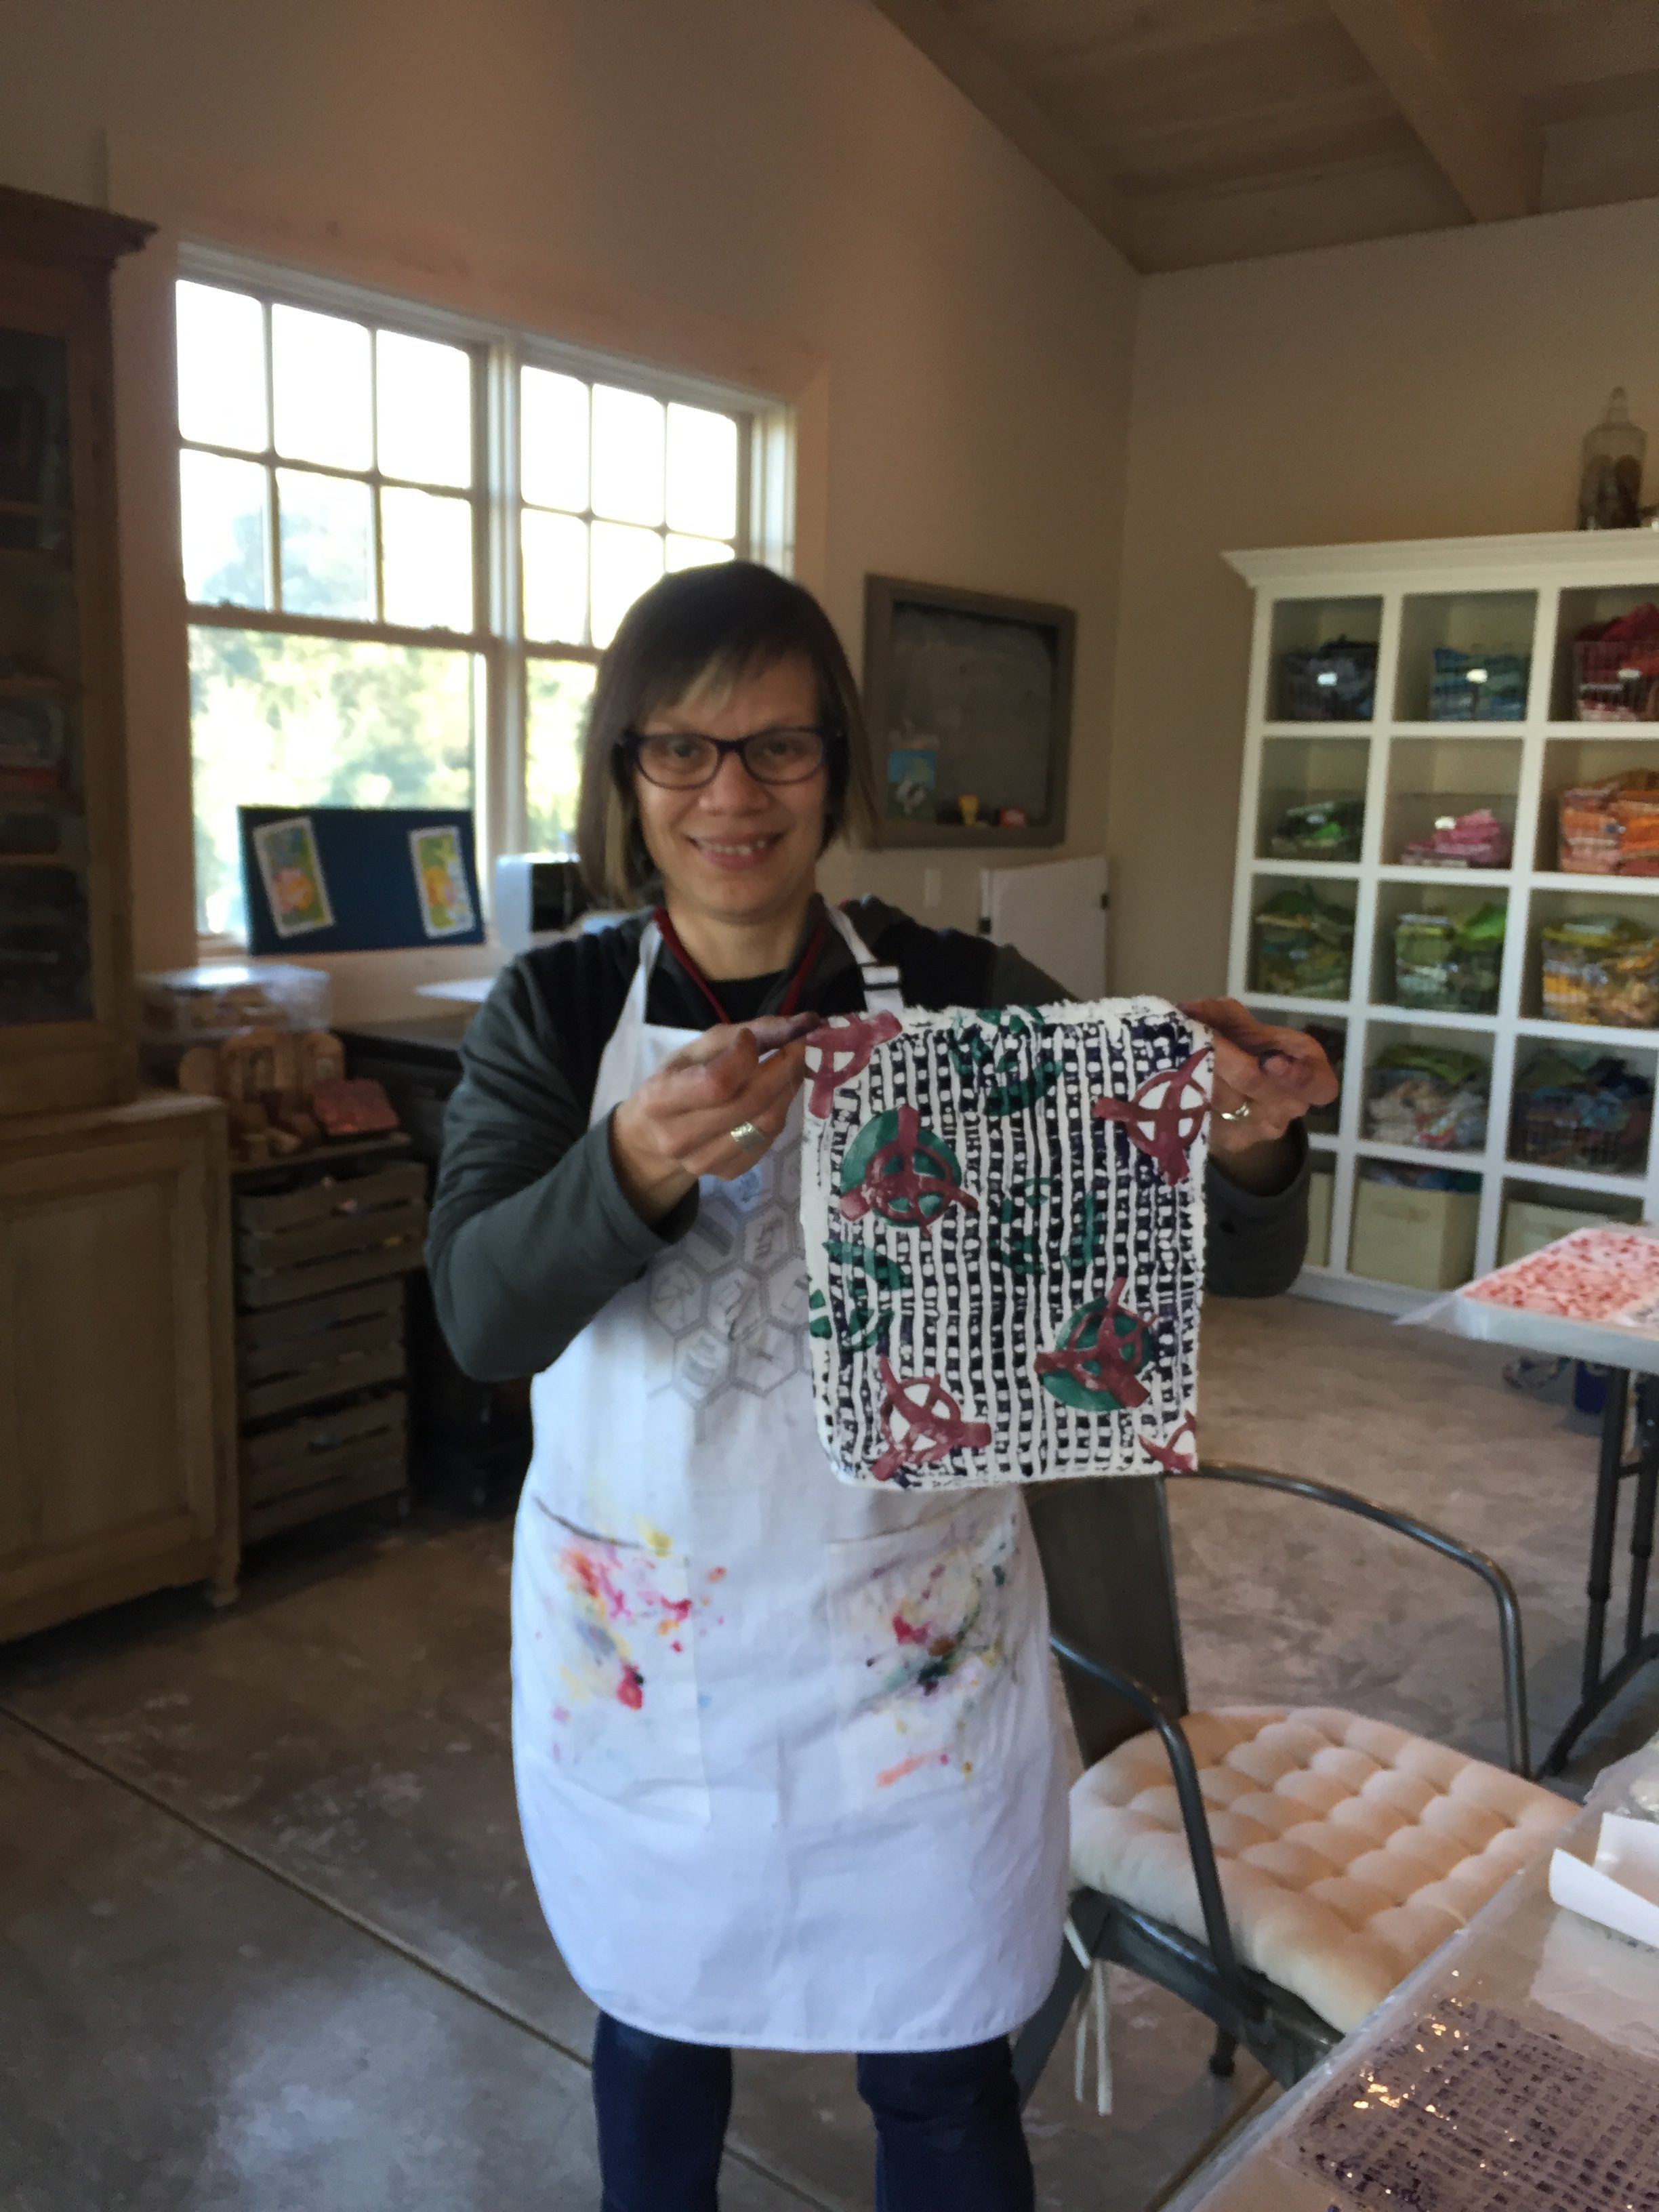
Freezer paper is the first resist I began to explore upon learning to print with dye. It is quite a versital crafting material that can be found at grocery and big box stores. Freezer paper comes in several widths, my preferred width is 18″, which can sometimes be difficult to find. While freezer paper is a great resist material, we also discuss some much more ingenious ways to use flat objects to make multicolored prints.
However you choose to make marks on cloth, there is always a way to reserve specific areas, color the background, overprint, and add more design elements. It’s the experimentation that’s the fun part.
Next, I discuss ‘hacking’ your copy of Playful Fabric Printing in order to make it a user ready workbook.
Most of the books I love and use often, get a spiral binding. I bring them to the copy shop, ask that the binding be removed and a spiral binding be placed in its stead. In the case of Playful Fabric Printing, I wanted to push the idea further and make the book even more studio ready.

First, I took a trip to the office supply store to purchase Better Dividers and Corner Lock Three Pocket Binder Pockets. I specifically wanted to place a tab at the color triangle on page 48 and a pocket at the back of the book in order to store tracking sheets. Additionally, I bought Expo Dry Erase Markers.

Then I took a copy of Playful Fabric Printing to my local copy shop, additional items in tow, to have them remove the binding, place the tab and pocket and laminate both the front and back covers prior to placing a spiral binding. I know this book will receive lots of use and I think the spiral binding turns Playful Fabric Printing into a very useable workbook that is ready to be wiped down when spills and drips occur.

In retrospect, I wish I had asked for the 1.25″ plastic spiral, rather than this tight fitting metal binding. I did not know there was an option, and although this works perfectly, I would have preferred to have the larger spiral.
Another change I made to my copy of Playful Fabric Printing was to move pages 57, 58, 59 and 60 (the Value Bands) to follow just after the color triangle on page 48. This will cut down on flipping back and forth between the pages when choosing color palettes.
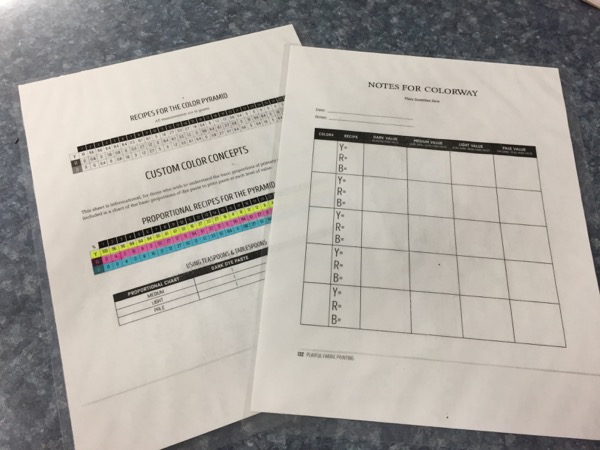
Then I asked the copy shop to make a two sided print out of the tracking pages (pages 138 and 139) and a two sided print out of pages 130 and 131 (the dye recipes) prior to lamination. Used with the dry erase markers, these laminated sheets provide a temporary surface to write notes and track your mixing adventures. Later, when your print session is complete, you will want to transfer the essential information gathered to a hard copy.
OR, if you would rather not have separate sheets that may get lost, you might consider placing a second tabbed Better Divider between pages 138 and 139. My one hesitation with this idea is that the Better Divider pages are textural. The dry erase maker does indeed erase from this surface in a preliminary trial, though a very slight smudge remains. While this is not a problem immediately, I do wonder if, with time and repeated ‘off-market’ use like this, the page will become much more smudged and blurry. I cannot answer this question as yet.

And, of course, tracking pages and design notes can be tucked into the added Binder Pocket at the back.
Perhaps you too might consider moving into and making your book wet studio ready! I think this is pretty snazzy.
Blog Hop Schedule
Remember, each blog hopper will give away a copy of Playful Fabric Printing, you must comment on that post to enter your name in the giveaway. Comment on every post!!
January 23: Melly Testa
https://melanietesta.com/blog/
Jan 24: Carol Soderlund
http://www.carolsoderlund.com/blog/
Jan 25: Lisa Chin
http://somethingcleveraboutnothing.blogspot.com
Jan 26: Julie Fei-Fan Balzer
http://www.balzerdesigns.typepad.com/
Jan 27: Judy Coates Perez
http://www.judycoatesperez.com
Jan 28: Carrie Bloomston
http://www.carriebloomston.com/blog/
Jan 29: Lynn Krawcyzk
http://smudgeddesignstudio.com
Jan 30: Leslie Tucker Jenison
http://leslietuckerjenison.blogspot.com
Jan 31: Pokey Bolton
http://pokeybolton.com
Also, I would like to announce that Judy Tucker has won the fabric giveaway I announced on the Focus on Fabric Florida Style post.
Discover more from Melanie Testa
Subscribe to get the latest posts sent to your email.

you make it look like so much fun!
LikeLike
so great the book has come out! I was lookign forward to it for some time. What a chance you give for a copy to be won; hope it’s me!!
LikeLike
Wow, what an accomplishment. Kudos to you both on the publication of your book. It looks like it would be a great addition to my art books’ library and a wonderful resource. Love the hack! Thanks for the chance to win a copy! All the best!
LikeLike
I came across your website because Julie Fei-Fan Belzer listed the blog hop. I love it that I ge t to come across new inspiring blogs to follow such as yours. e
LikeLike
Oh my! How fun!!!
LikeLike
This book looks like fun to dive into! Love painting, stamping and mono printing on fabric. Haven’t tried Thermofax yet!
LikeLike
Love the idea of making the book studio ready! Can’t wait to see inside the book too!
LikeLike
This looks like a fabulous book with lots of way to play. Congratuations.
LikeLike
Congrats on the book and thanks for the hack and a chance to win!
LikeLike
I’d love to have this book! Thanks for the info!
LikeLike
I saw your book featured on Julie Balzer’s blog and came here to see what you have done. congratulations on the release.
LikeLike
Congrats! What a great book! I have played around just a little on making my own fabric-and still have so many ideas I still want to try! Thank you, Susan
LikeLike
Congratulations!! Oh!,what fun!!
I’m SO excited to get my hands on your wonderful book and get started creating!
Thank you for the guide on making it a wet studio workbook, too!… I will do that!
Pat T.
LikeLike
I’ve had a 10 yard bolt of PFD fabric just waiting for me…. for 3 years? I think it is time to get off my duff and play! Your book is providing inspiration.
LikeLike
Adding a spiral binding to the book is a great idea. I often do that with books I’d like to use as a workbook. I REALLY like the addition of the lamination of the front and back pages and the pocket. Great idea. The book looks fabulous; can’t wait to get it.
LikeLike
Congrats on the book. I like the spiral idea. Its so much easier to use a guide when the book lies flat.
Just curious why it wasn’t printed that way in the first place? A publisher’s decision?
LikeLike
The book looks wonderful and your info on how you make your books user friendly is fabulous!!! Didn’t know any of that was possible. TY
LikeLike
This looks like a fabulous book! I have wanting to give it a go and this would be the perfect way to begin!!
The “Hack” is a great idea!
LikeLike
Learning how to design and create my own fabric is now on my to-do list for sure.
LikeLike
This book looks like so much fun! I’d love to experiment more with printing
LikeLike
Hope to take a class from you some day soon. Thanks for arranging this blog hop just on fabric painting.
LikeLike
Hi Mellanie. I love your projects and posts. Have some of your fabrics and journal book. I love your idea of spiral binding your book and adding the folders. I am going to do this when I get mine.
LikeLike
I haven’t had much time lately to really read blogs, but I am doing a catch up and I thrilled about your book. Neat idea spiralizing your book.
LikeLike